This tutorial describes the basic usage of git, a version control system to track code changes among yourself and your collaborators.
Contents:
- Accessing Khoury Github
- Gitting Started!
- Basic Commands
- Branching
- Merging and Various Errors
- More Advanced Commands and Fun Stuff
If you run into any difficulties following any of these steps, please post (in a non-private question) on Piazza.
Accessing Khoury Github
We recommend using the Khoury Github for this class, as it will simplify the process of creating private repositories. If you would like for your class project to be publicly available, then you should feel free to simply use github.com. You can login with your Khoury account here: https://github.ccs.neu.edu/login. If you do not already have a Khoury account, you can request one at https://my.khoury.northeastern.edu/account/apply. Once you do this, you will be emailed your account information when it is approved by the IT department.
Gitting Started!
Git is a version control system that lets you share versions of code remotely with other collaborators (or have a remote version you can save and access from any computer). The central platform that we will be using is an online service called Github (other services also exist, like GitLab). You can create your own account online at https://github.com/, or use the Khoury Github mentioned above. Again, we recommend using the Khoury Github, as this will be what you will be using for your final projects.
Once you login, you can create a new repository (which is a another name for a git enabled folder) by clicking “New” button in the upper left corner: 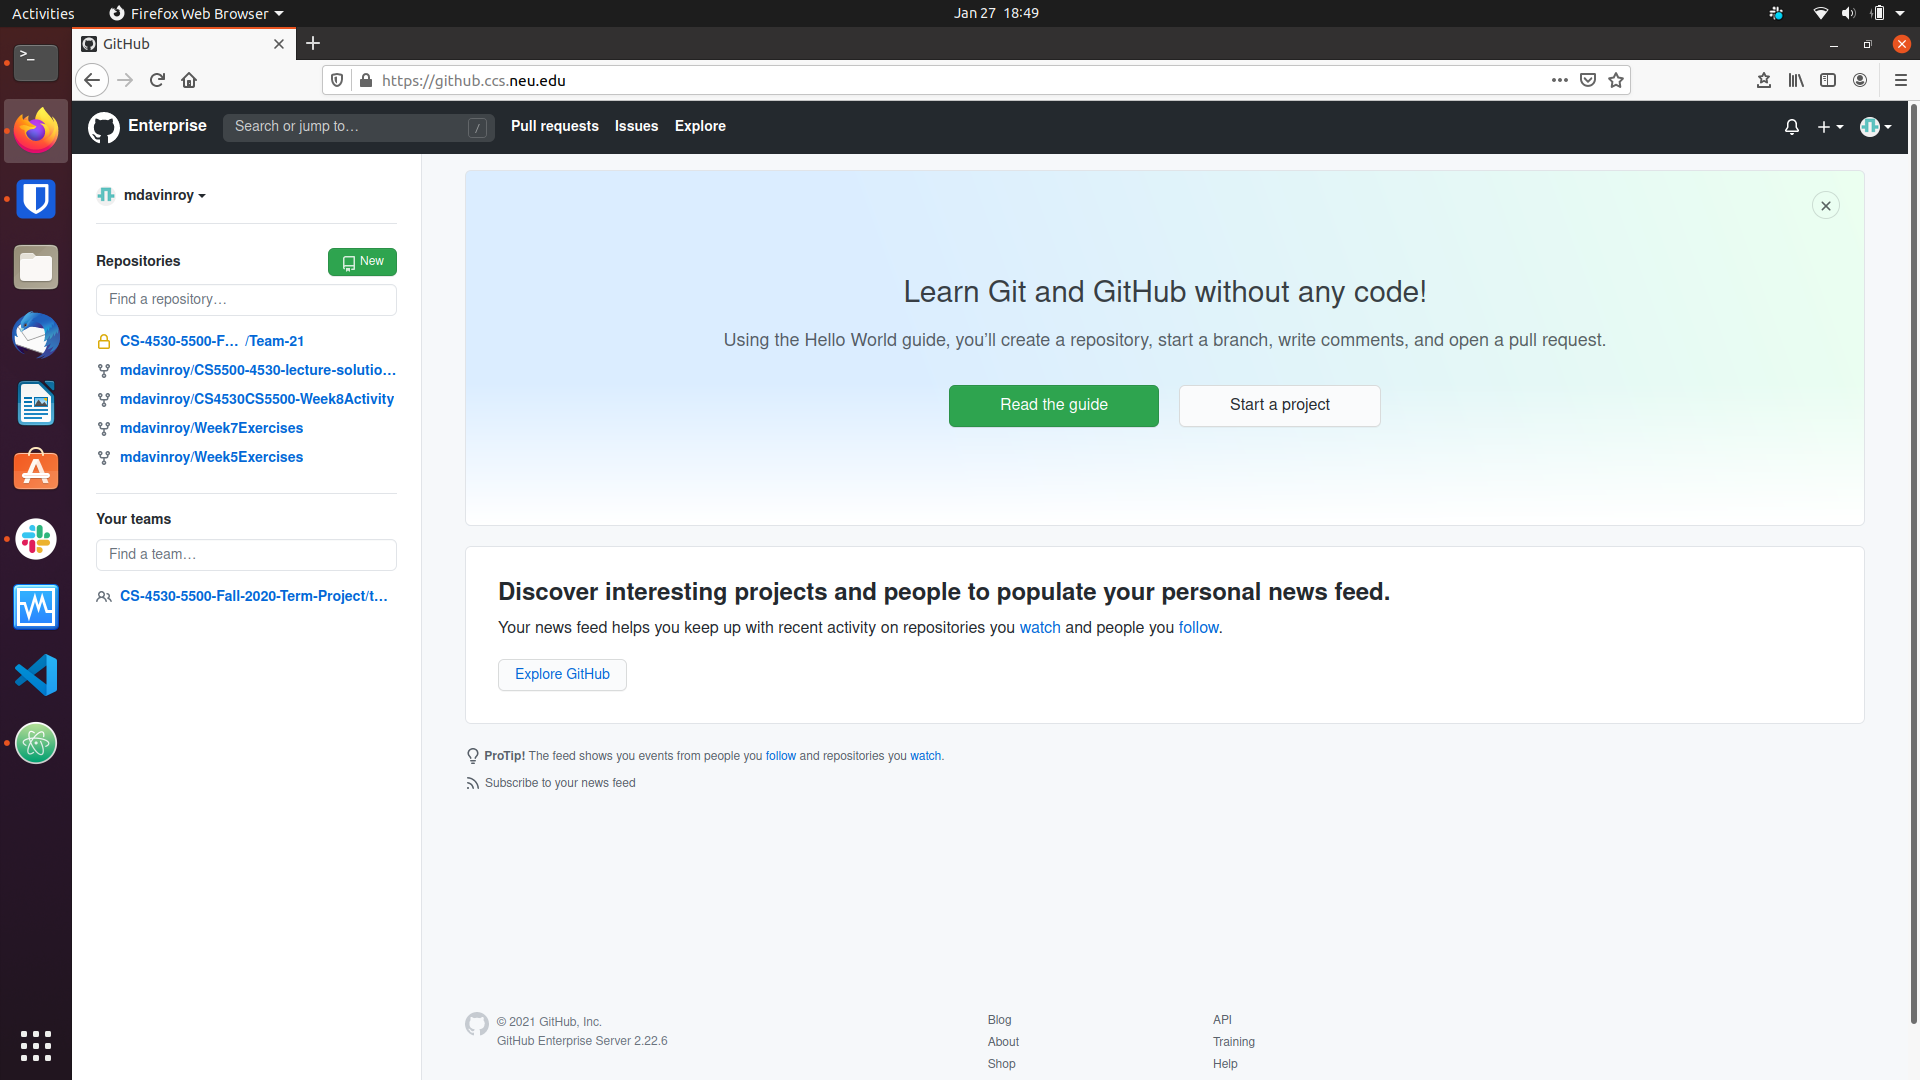
Use the screen to enter a new folder (repo) name. For example, I chose /test-repo. Additionally select Public or Private depending on who you want to be able to see your project and click add README as well. Then click “create repository”. 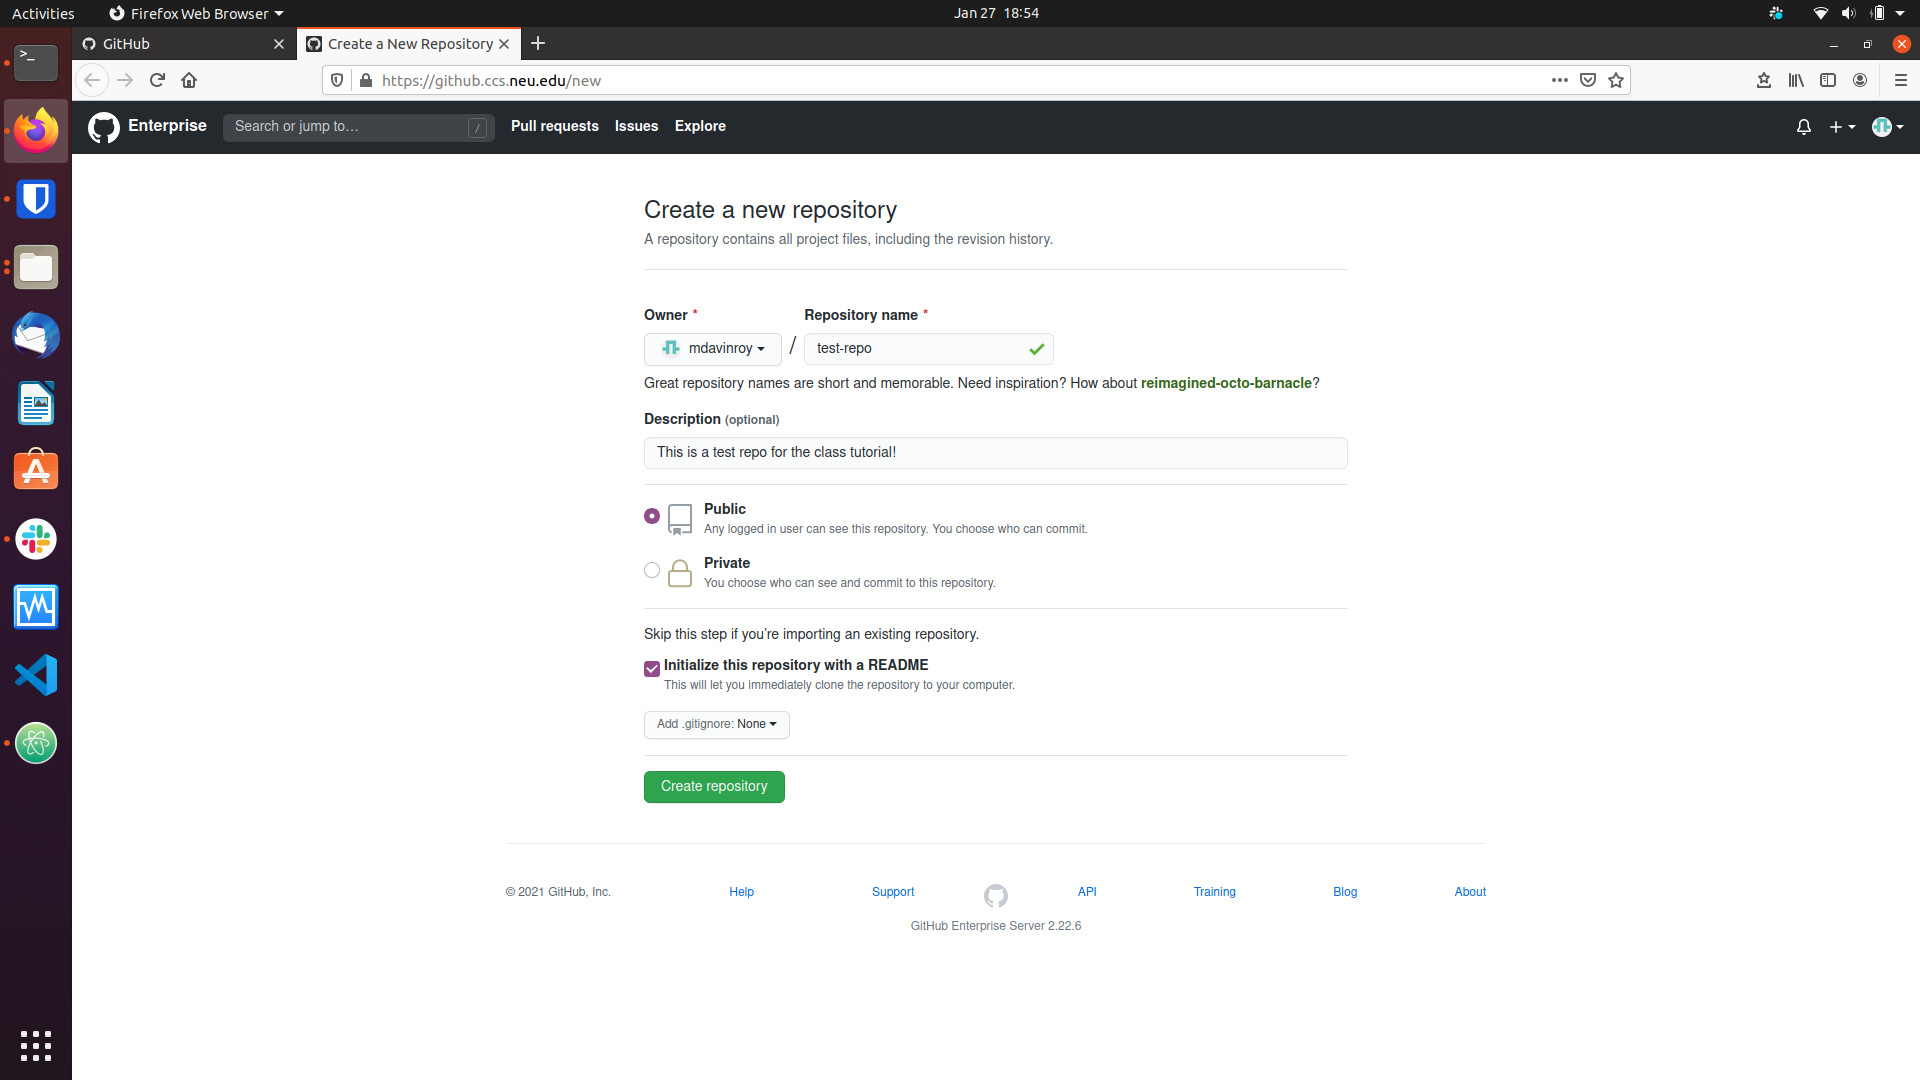
This should put you on the webpage of the new repository you just created! 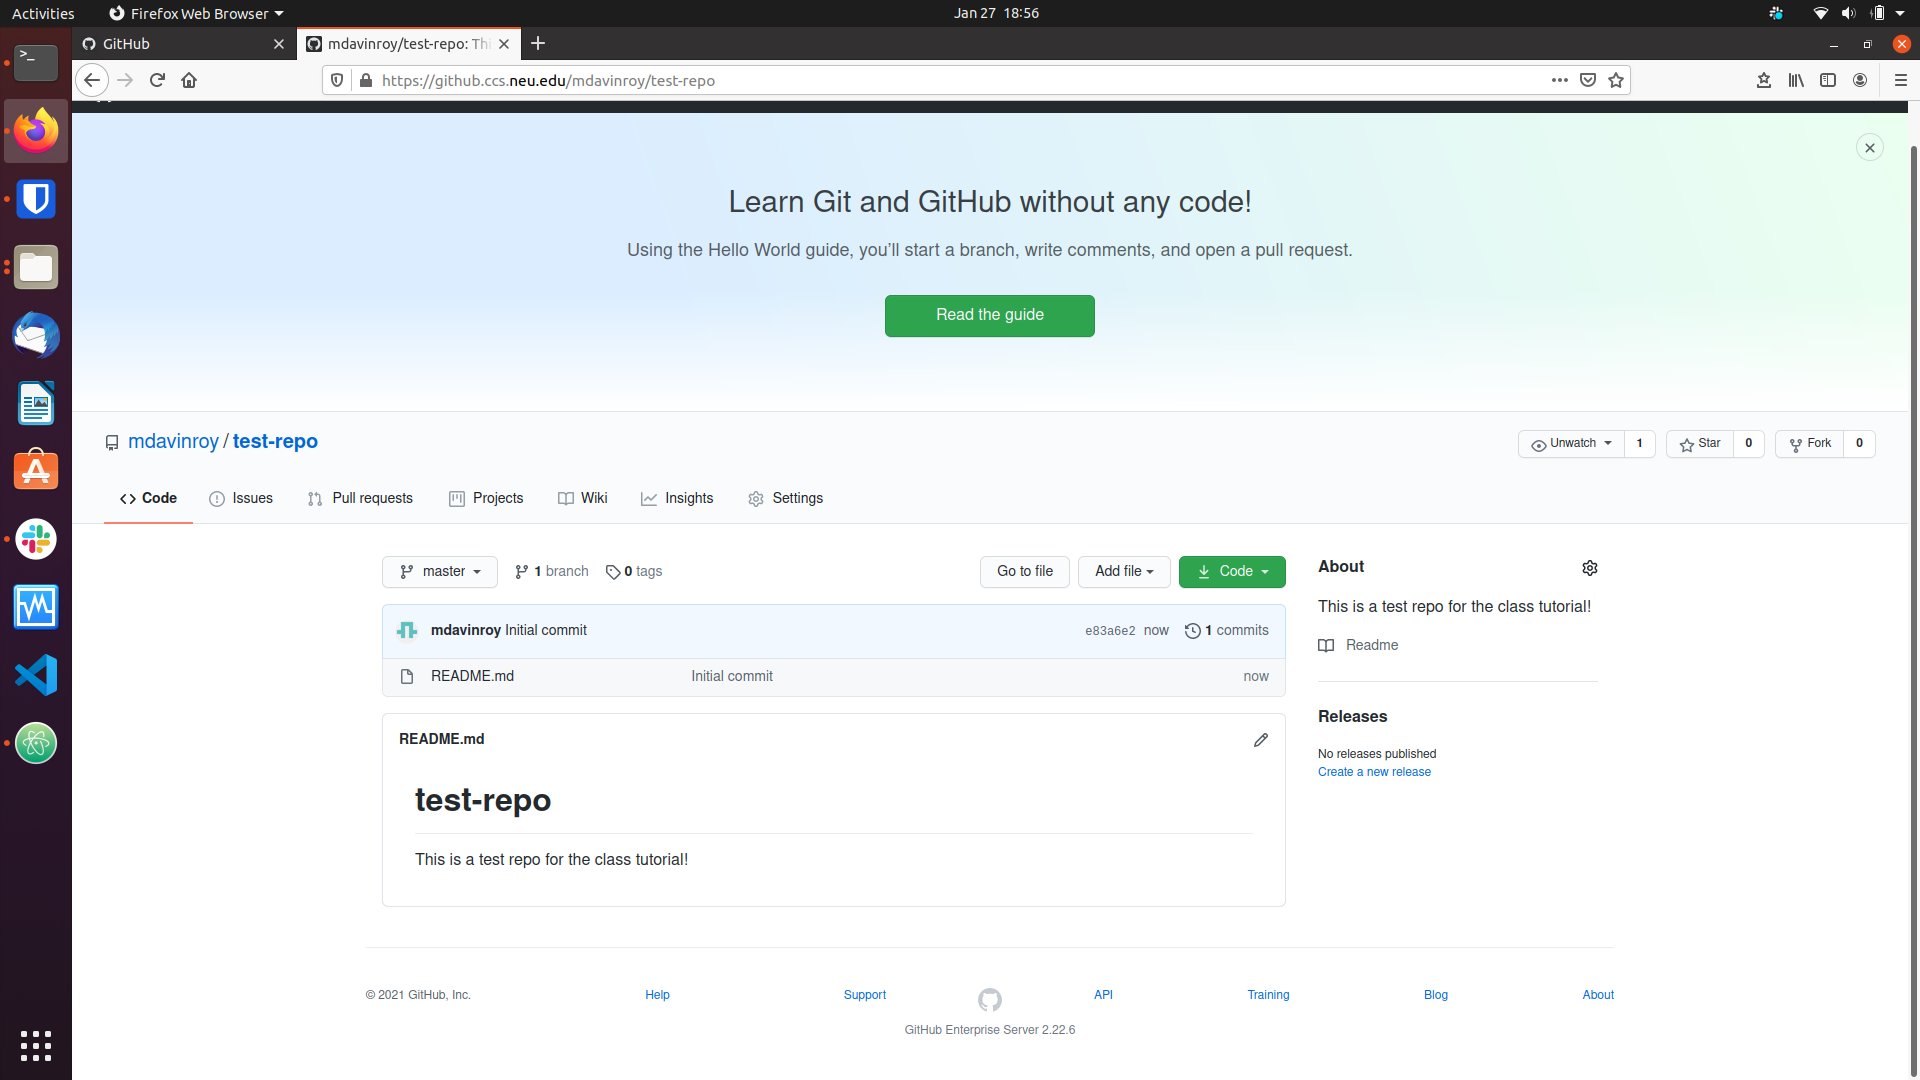
To get this repository on your local computer, you will do a process called cloning. Two steps are needed before you can do this process:
- You need to install git locally on your computer.
- You need to add an ssh key to your Github page (or you can clone using https). For context, using an ssh key allows you to authenticate your computer with Github automatically using a cryptographic protocol. This process tends to make working with git more smooth when developing your code, as you are automatically authenticated when you start up a new session and don’t have to type in your username and password every time you want to sync the Github repository with your local computer.
For step one,
- If you are on a linux machine, type
sudo apt-get updateand then typesudo apt-get install git. - If you are on a mac, type
git --version. If it is already installed, it will print out the current version (and you’re ready to go!). If it is not already installed, you will be prompted with the option to install Git by installing the XCode Command Line Tools - follow the prompts to install XCode Command Line Tools, and when you’re done, you’ll have git (along with several other useful tools) - If you are on a windows machine, follow the steps below:
- Download the git installer from the git-scm website
- Run the installer and click yes on the windows prompt to allow installation.
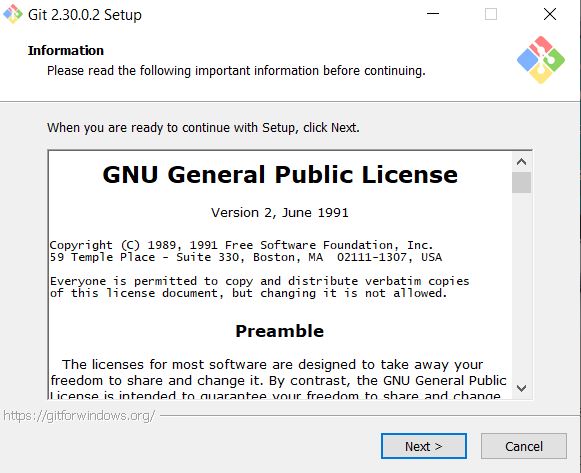
- Click next on the information page.
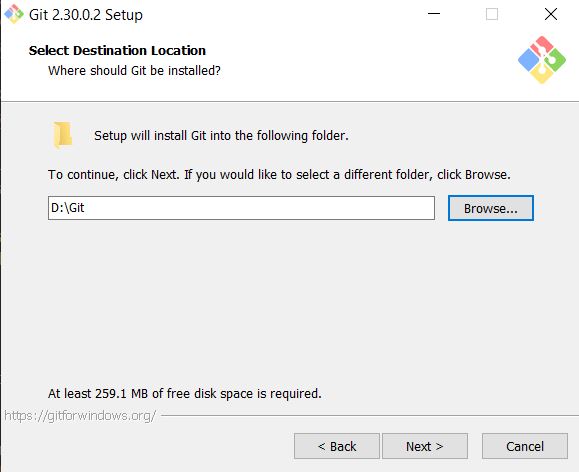
- Select the destination folder for installation and click next.
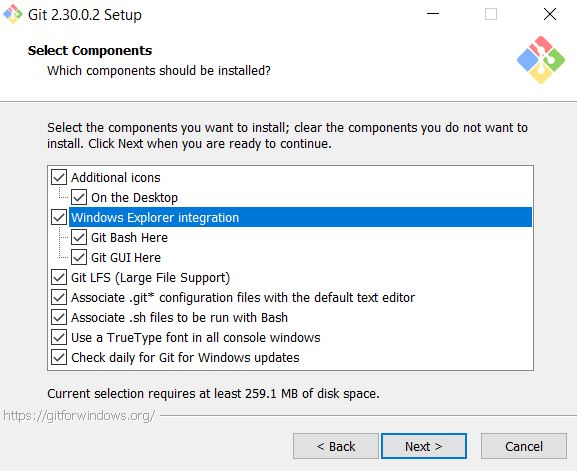
- Select all components and click next.
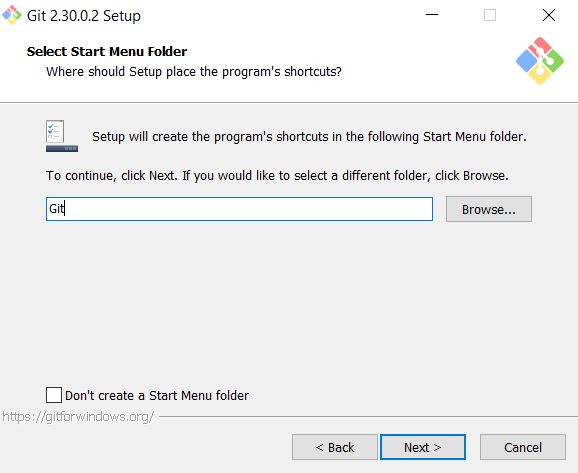
- Click next on select start menu folder.
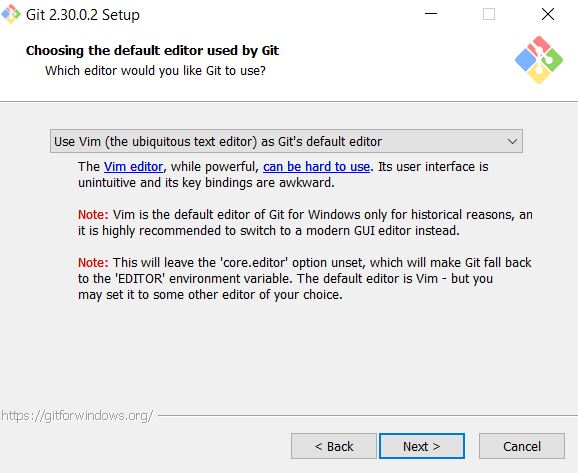
- Select the editor of choice for Git (I’ve kept the default Vim.JPG) and click next.
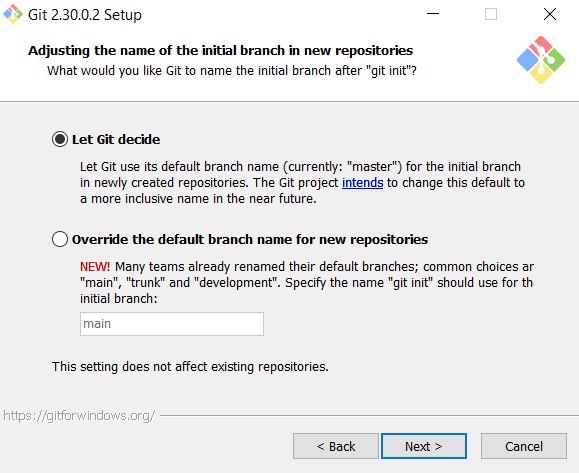
- Select “Let git decide” for the default branch and click next.
- Select “Git from the command line and also 3rd party software” and click next.
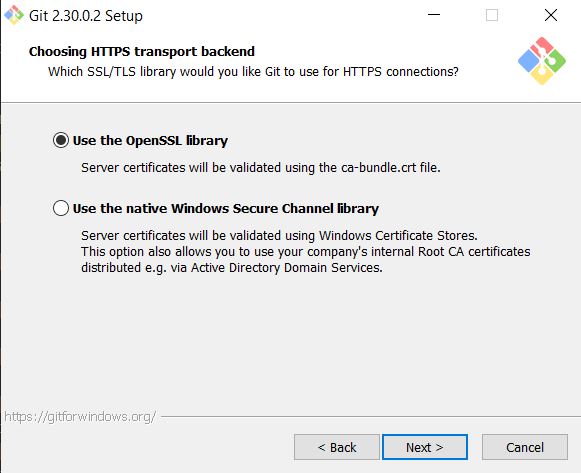
- Select “Use OpenSSL library” and click next.
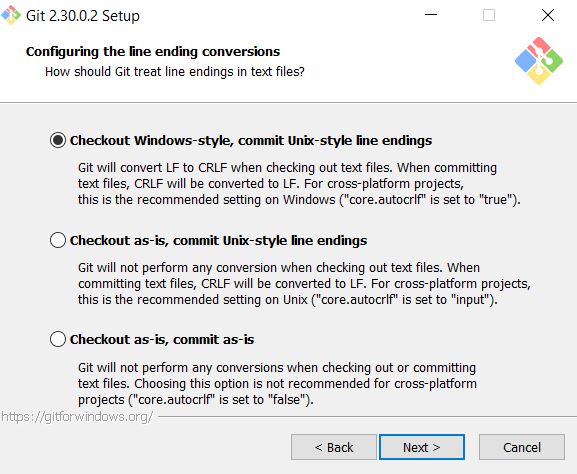
- Select “Checkout windows-style, commit unix-style line endings” and click next.
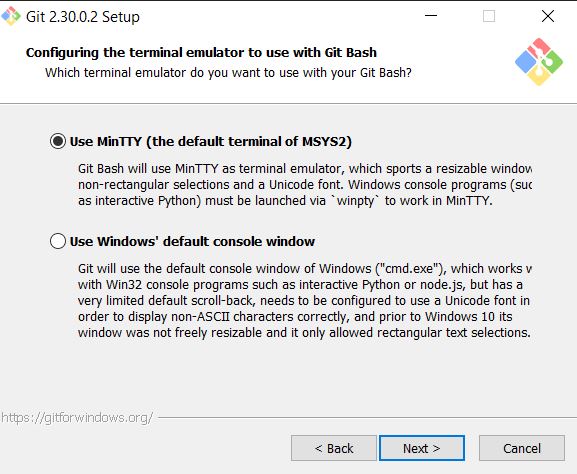
- Select “Use MinTTY” and click next.
- Select “default” and click next.
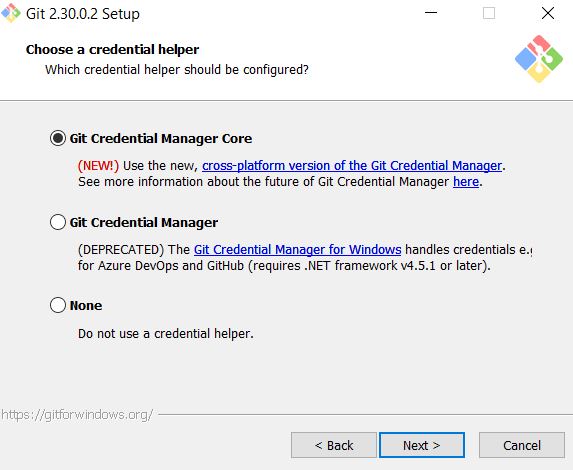
- Select “Git Credential Manager Core” and click next.
- Enable both options and click next.
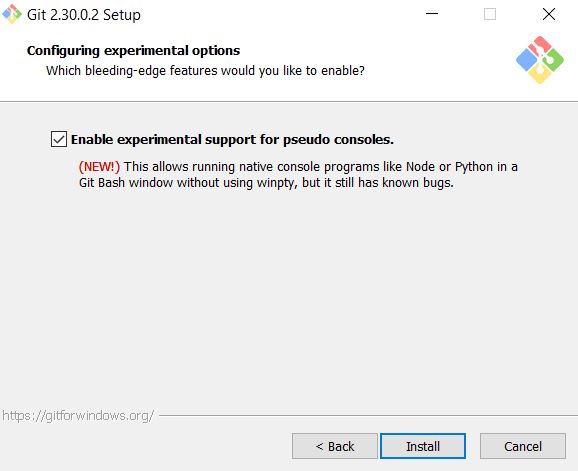
- Select “Enable support for experimental consoles” and click Install.
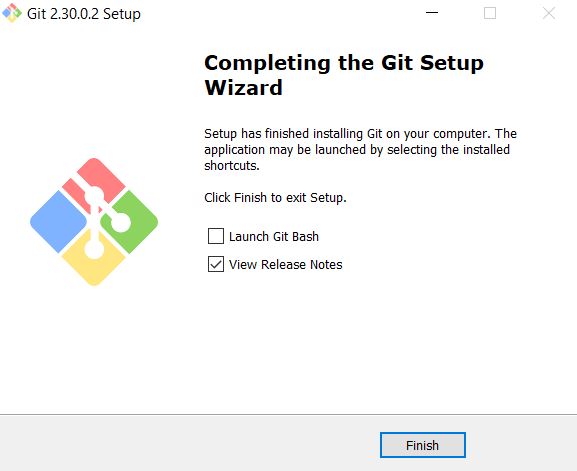
- Git has now been installed. Click finish to exit
- Download the git installer from the git-scm website
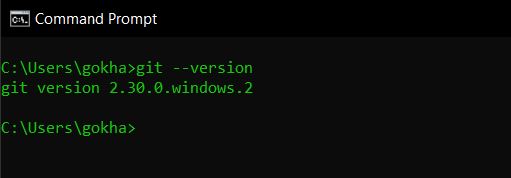
- To verify the installation of git:
- Open a terminal (cmd/powershell)
- Run the command
*git --version* - You should see the version of git installed

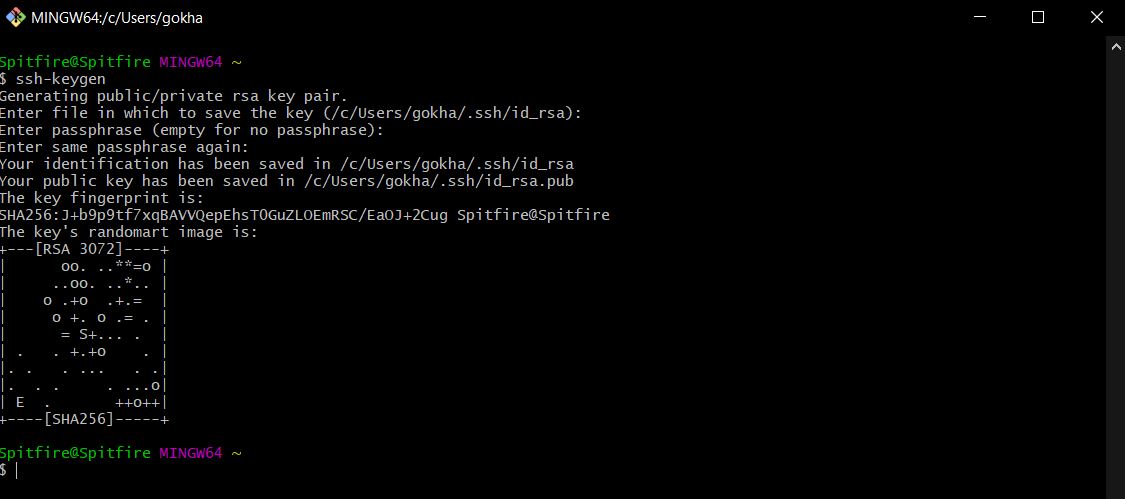
Setting your SSH key on Windows:
- Open git bash
- Run the command:
*ssh-keygen*- Hit enter for all options and an RSA key-pair will be generated!
- However, it is a good idea to set a passphrase.
After you install git, navigate to your home directory and type ssh-keygen. Press enter for all options, and optionally enter a password when prompted. It is less secure to not enter a password, but many people opt not to have one when working on a personal computer to make their workflow easier. Next, on the Github website, access your account settings, by clicking on the little icon on the top right and selecting Settings from the drop-down menu. 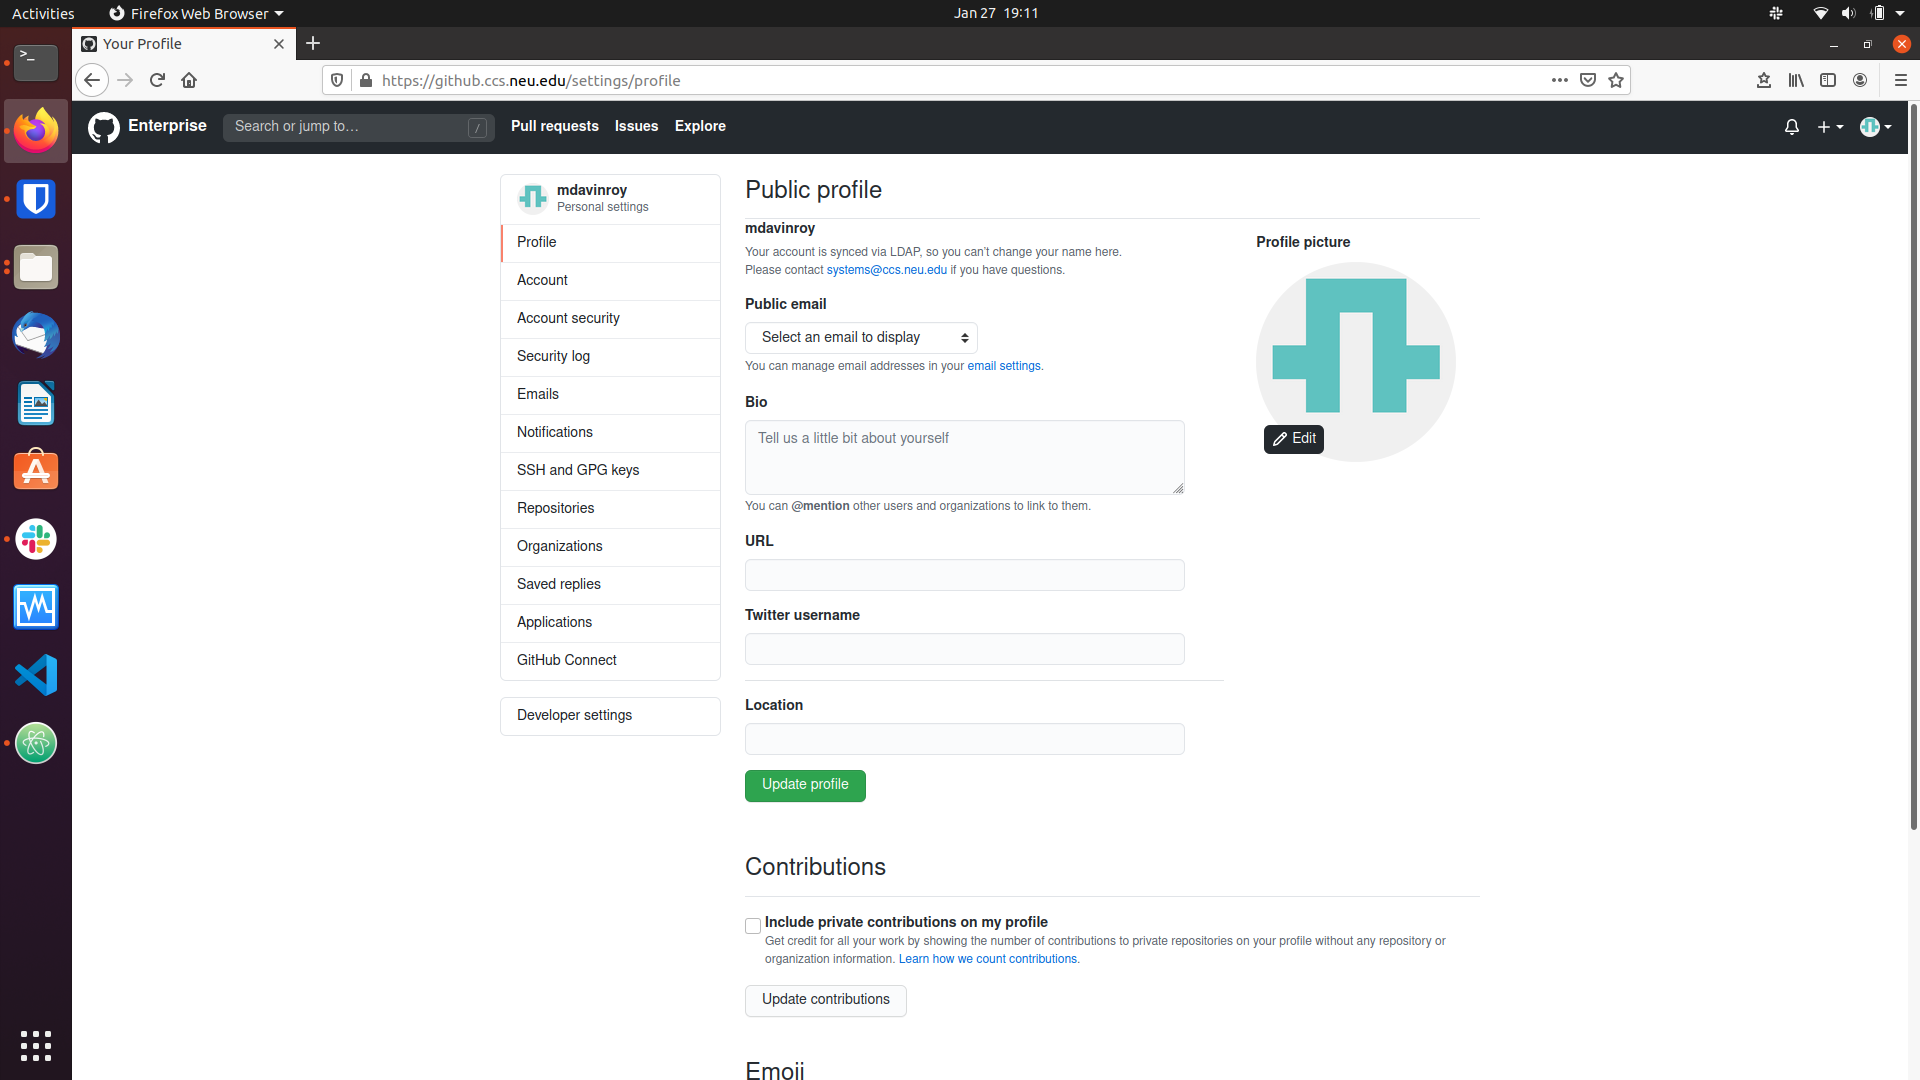
Click on the SSH and GPG keys tab and click New SSH-key. Navigate to your home directory and type cat .ssh/id_rsa.pub. This is your public key, make sure not to access .ssh/id_rsa instead, as this is your private key. Copy and paste this public key into the box, give it a recognizable title (something that you would recognize as your computer) and click Add SSH key. 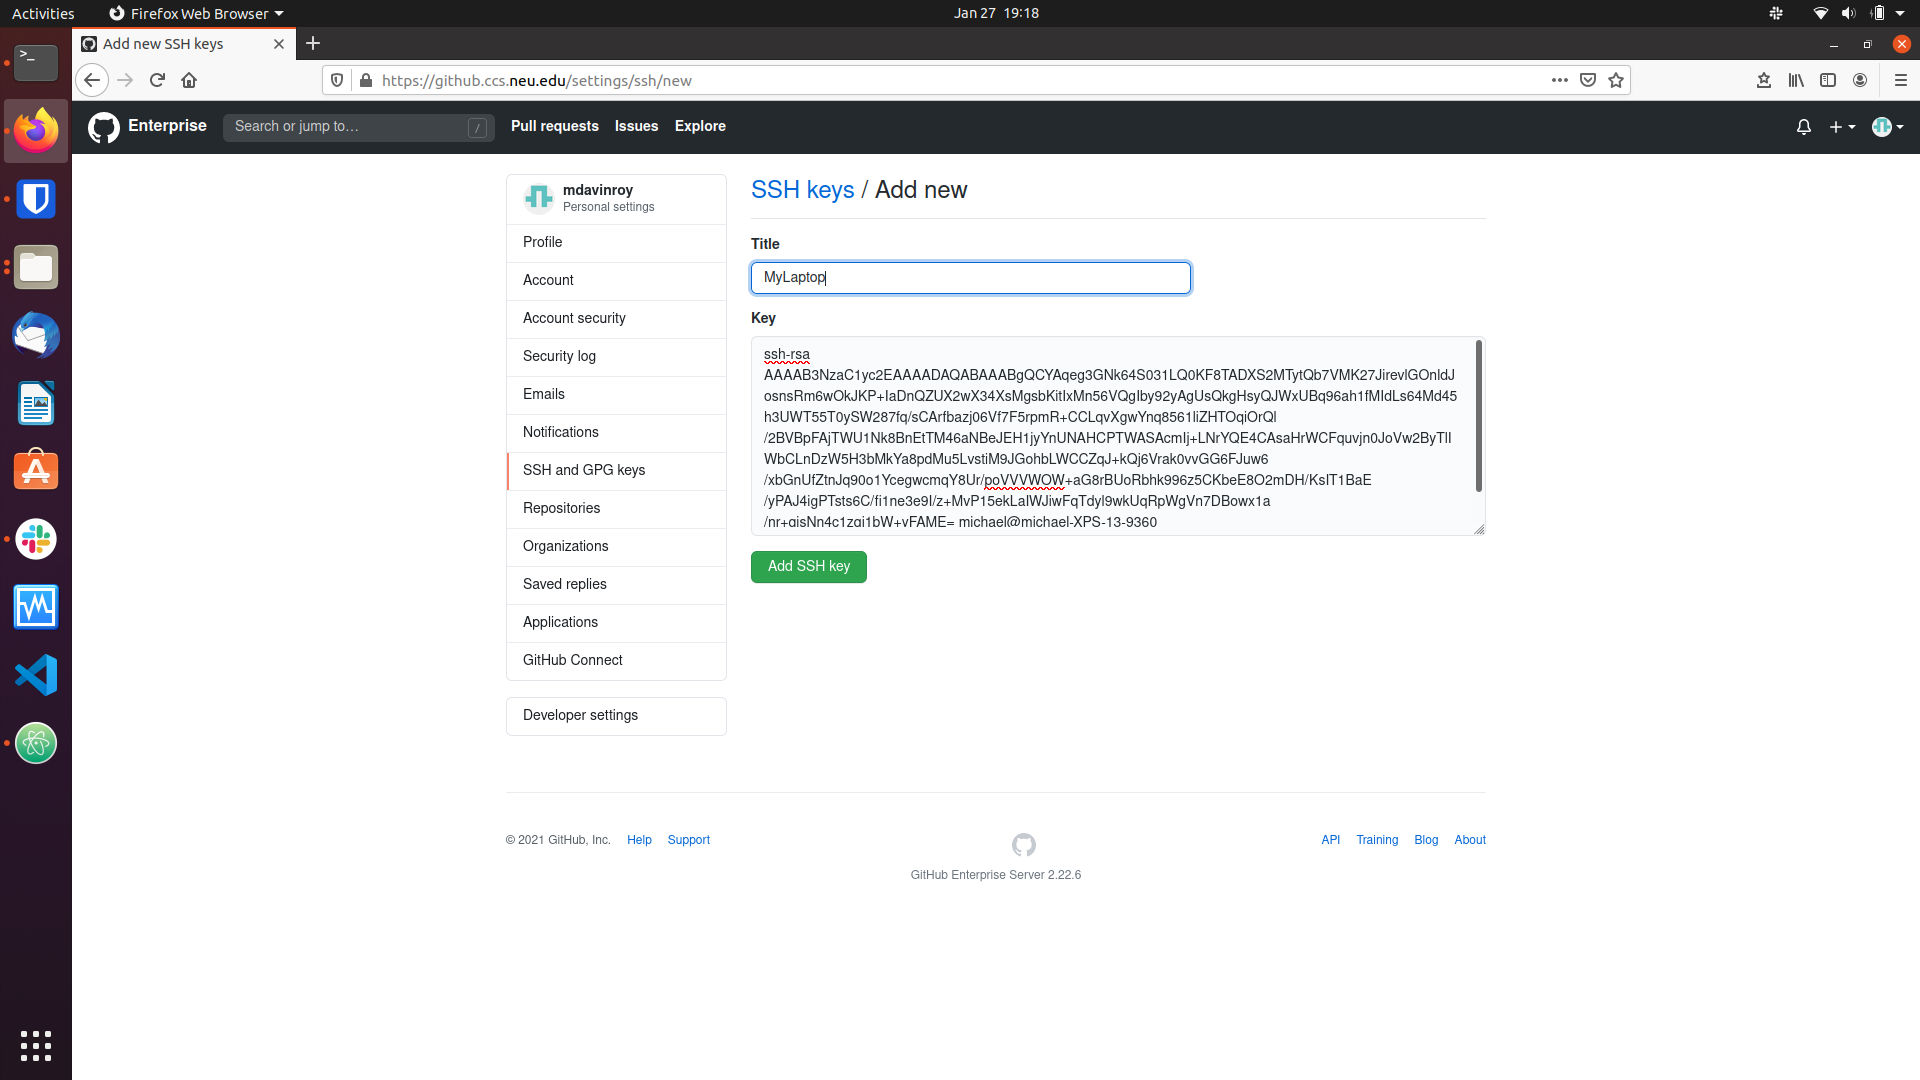
After you add your ssh key, you are ready to clone the repository locally! Navigate back to your repo page and locate the green Code button with an arrow. Make sure it says Clone with SSH and click the clipboard to copy the location. 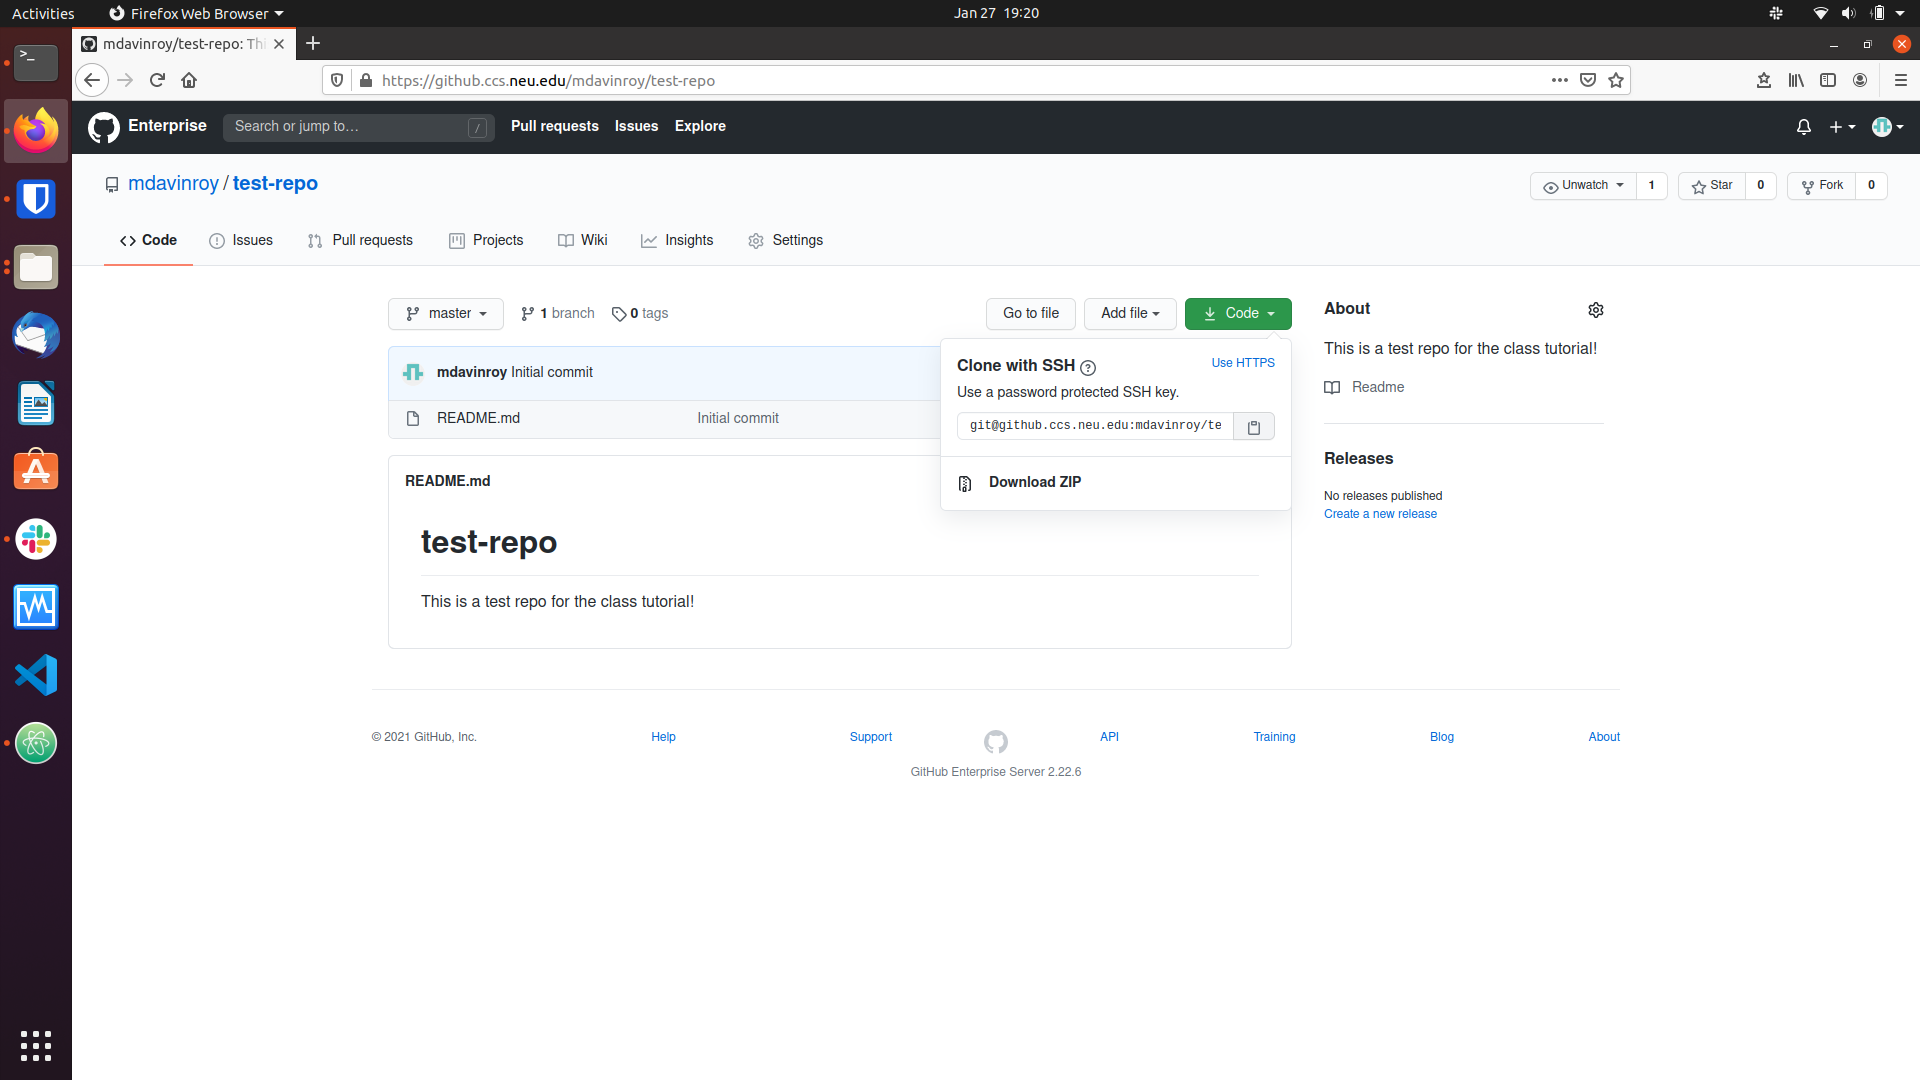
Navigate back to your terminal and type git clone [copied location]. Hit enter to accept the SSH prompt (this will only happen the first time you access a repo). This will clone your repo locally for you to edit! If you encounter an error saying you do not have access rights, you have messed something up in adding your ssh key. Retry the steps for generating and adding the public key to your Github. Further information for troubleshooting and/or setting up an ssh key on other systems as needed can be found at: https://docs.github.com/en/github/authenticating-to-github/connecting-to-github-with-ssh.
Basic Commands
There are a few basic command you need to know to use git effectively. The basic workflow of working with git is when you resume working on a project, you type git pull in the github enabled folder. This will sync your local branch with the remote server (i.e. the Master branch, implicitly selected or explicitly denoted origin master). Then you work on your code saving normally. When you are done (or want to create a checkpoint), you first add your code, commit it (with a message), and then push it. To check on the status of your commits, you can type git status. This command will show you what files you have edited locally that are not up to date with the master branch in red. To add them, type git add [insert name of file] for each file to add. Of note, you can tab complete the file name and use regular expressions to add more than one file. After you add a file, it will turn green in the git status menu. Then, you type git commit -m "[Some explanatory message]". Commits are how git tracks versions of the code. Finally, you type git push and this should update the master branch (seen on the website) with your code changes.
For review, when working on code you:
git pull- Work on your code
git add [file name]git commit -m "[Descriptive message]"git push
Branching
The above workflow is great when you are the only developer on a project. Now we will discuss an important concept when working with other developers: branching. When adding code to a shared code-base, it is good practice to create a branch to work on locally, using the flow above, and when you want to combine it with the existing code (called merging), to open what is called a Pull Request. This allows for code review (as someone else can approve the request), helps prevent nasty merging issues (as you can see how the branches) will merge before accepting the request, and keeps feature development separate from each other for good development modularity. To get an intuitive idea for what is going on, review this short graphic from github: https://guides.github.com/introduction/flow/.
To create a branch, you can type git checkout -b [name of new branch]. This is shorthand for git branch [name of new branch] followed by git checkout [branch name]. To see all the branches for the repo, type git branch with no arguments. To switch between branches, type git checkout [branch name]. When you are on a branch, you can pull, add, commit, and push like a normal workflow above. When you are ready to merge with the master branch, you can either open a pull request or (and this is not recommended because it can cause merge conflicts that are difficult to resolve and can mess with other people’s code) merge directly with the master branch. To open a pull request, navigate to the repo on the github website and select your branch from the branch drop down menu (on top of where the files are listed on the left side; master will likely be selected as default). Above the files should say “This branch is x commits ahead or behind master”. To the left of that select pull request. 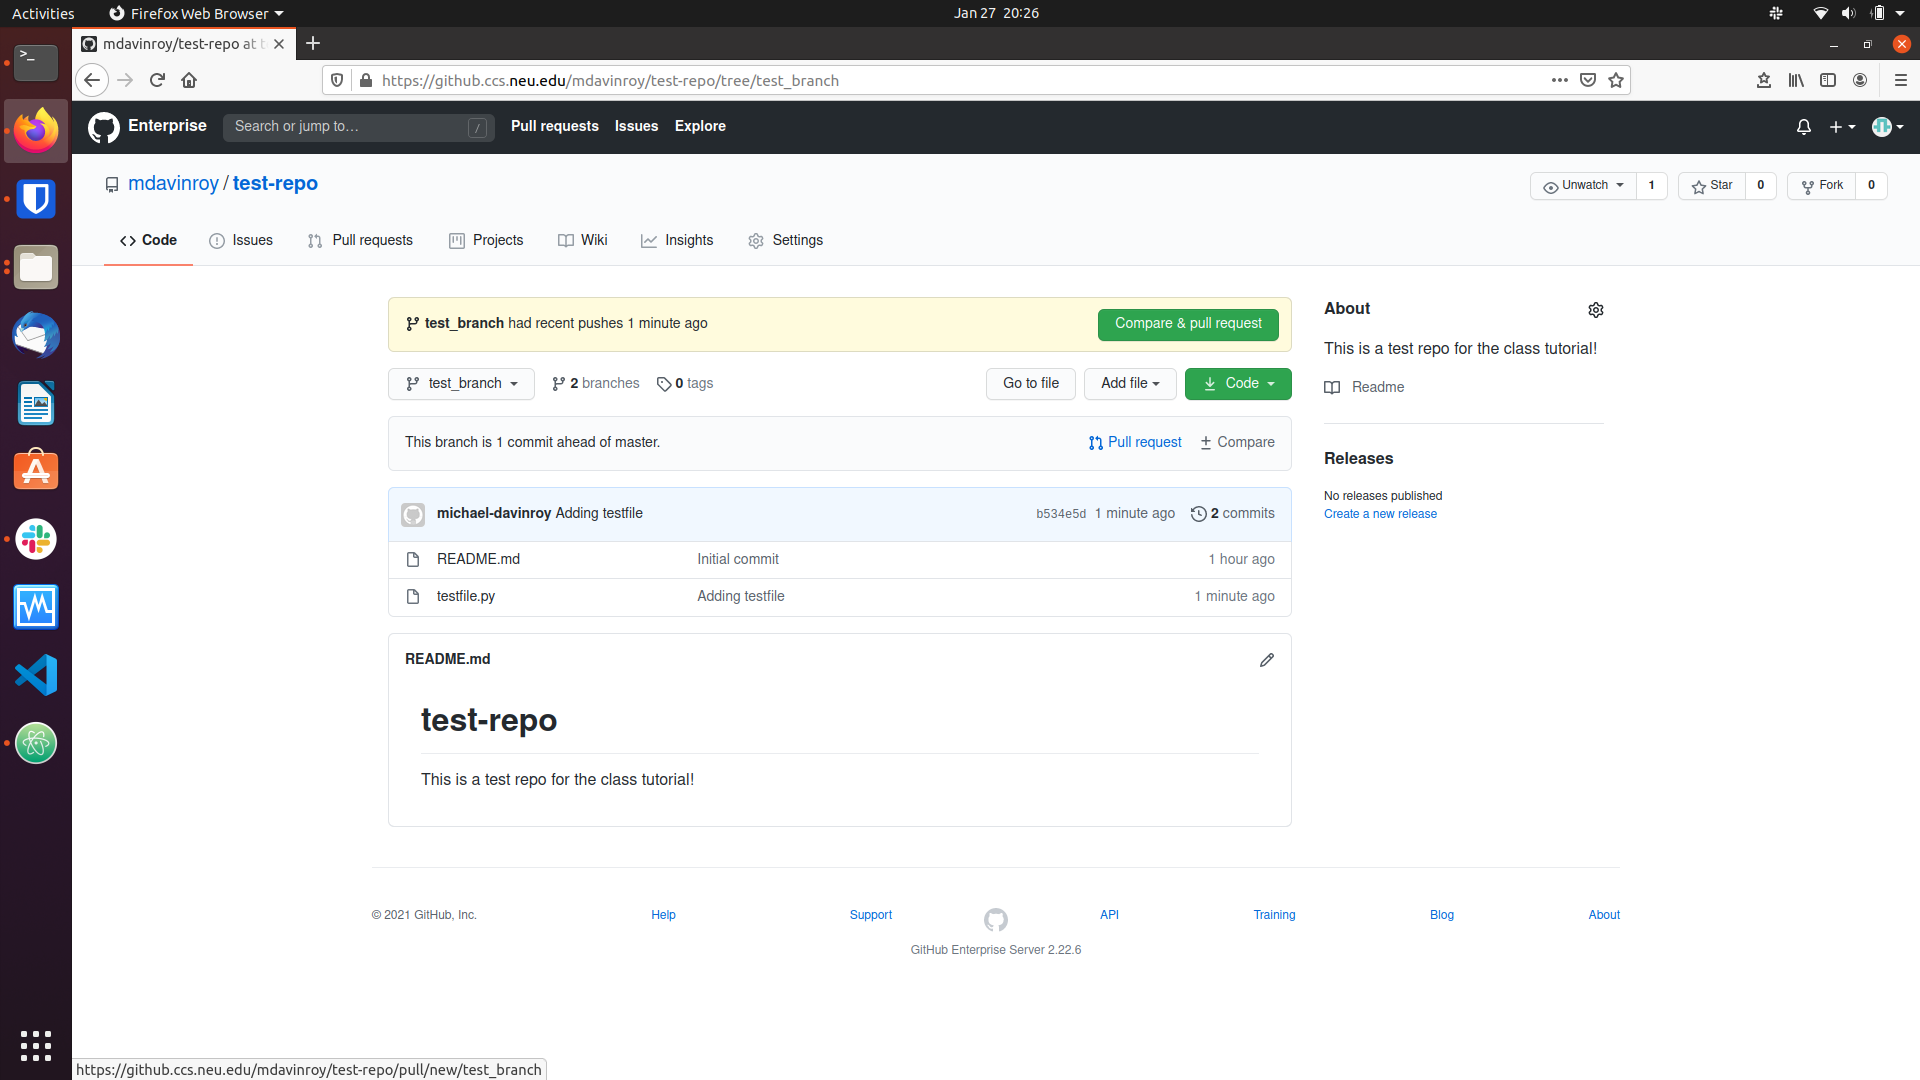
Add an optional comment and select Create pull request. Github will check for any merge conflicts, and if there exist none, a collaborator (we suggest someone else in your group) can click Merge pull request and then Confirm merge to merge into the master branch. After a branch is merged, you may wish to delete the branch. You can either do this in two ways. First, by selecting the [Number] branches next to the branch pull down menu for the repo and then clicking the trash can next to the branch to delete. Second, you can type git branch -d [branch name] into a terminal.
Github also lets you work entirely with branches from the website. This short guide shows how: https://docs.github.com/en/github/collaborating-with-issues-and-pull-requests/creating-and-deleting-branches-within-your-repository.
To summarize:
- Create a branch with
git checkout -b [name of new branch]. - Switch between branches with
git checkout [name of branch]. - See all open branches with
git branch. - Open and merge pull requests on the github website.
- Delete a branch with
git branch -d [name of branch].
Merging and Various Errors
The most common error with git is a merge error. This occurs when you try to push something to a branch and the code you edited does not agree with the same code in some other commit already committed to a branch. The best way to fix merge errors is to take precautionary steps to avoid them. Best practices for doing this have already been mentioned: git pull when resuming work and do not try to merge directly with master, open a pull request. However, merge conflicts are bound to happen, and they, quite frankly are a headache sometimes. We can try to help you with these, but here we provide the steps you should take first to fix them.
To see where the conflicts lie (after you git commit and git complains there are merge conflicts), just type git status. This will tell you the files that are in conflict. To manually fix the conflict, open the file. The git merging system will have left you with some information on the differences between the files that cause the conflict. We highly recommend that if you do not use the Atom text editor normally that you download it solely for this purpose. Atom is a popular IDE released by github, so it provides highlighting for merge conflicts. You can download it on Linux by typing sudo apt-get install atom, on Mac by typing brew install atom. The git merge tool will add something to a file such as:
<<<<<<< HEAD
console.log("Help! I have a merge conflict!");
=======
console.log("I have a merge conflict! Help!");
>>>>>>> test_branch
The left arrows followed by HEAD indicate the code in the branch you are trying to merge with (in this case main). The equal signs denote the separation between the two versions, and the code that follows them until the right arrow is the code in the branch you are trying to merge (in this case, denoted by test_branch after the right arrows). To fix this merge manually, pick which version you want, delete the code from the other branch, and delete the left arrows, “HEAD”, the right arrows, and the name of the merging branch (i.e. “test_branch”). Then save the file, re-add it to mark it as fixed, and then commit and push as normal.
We recommend Atom because this process is visually highlighted in the file as shown: 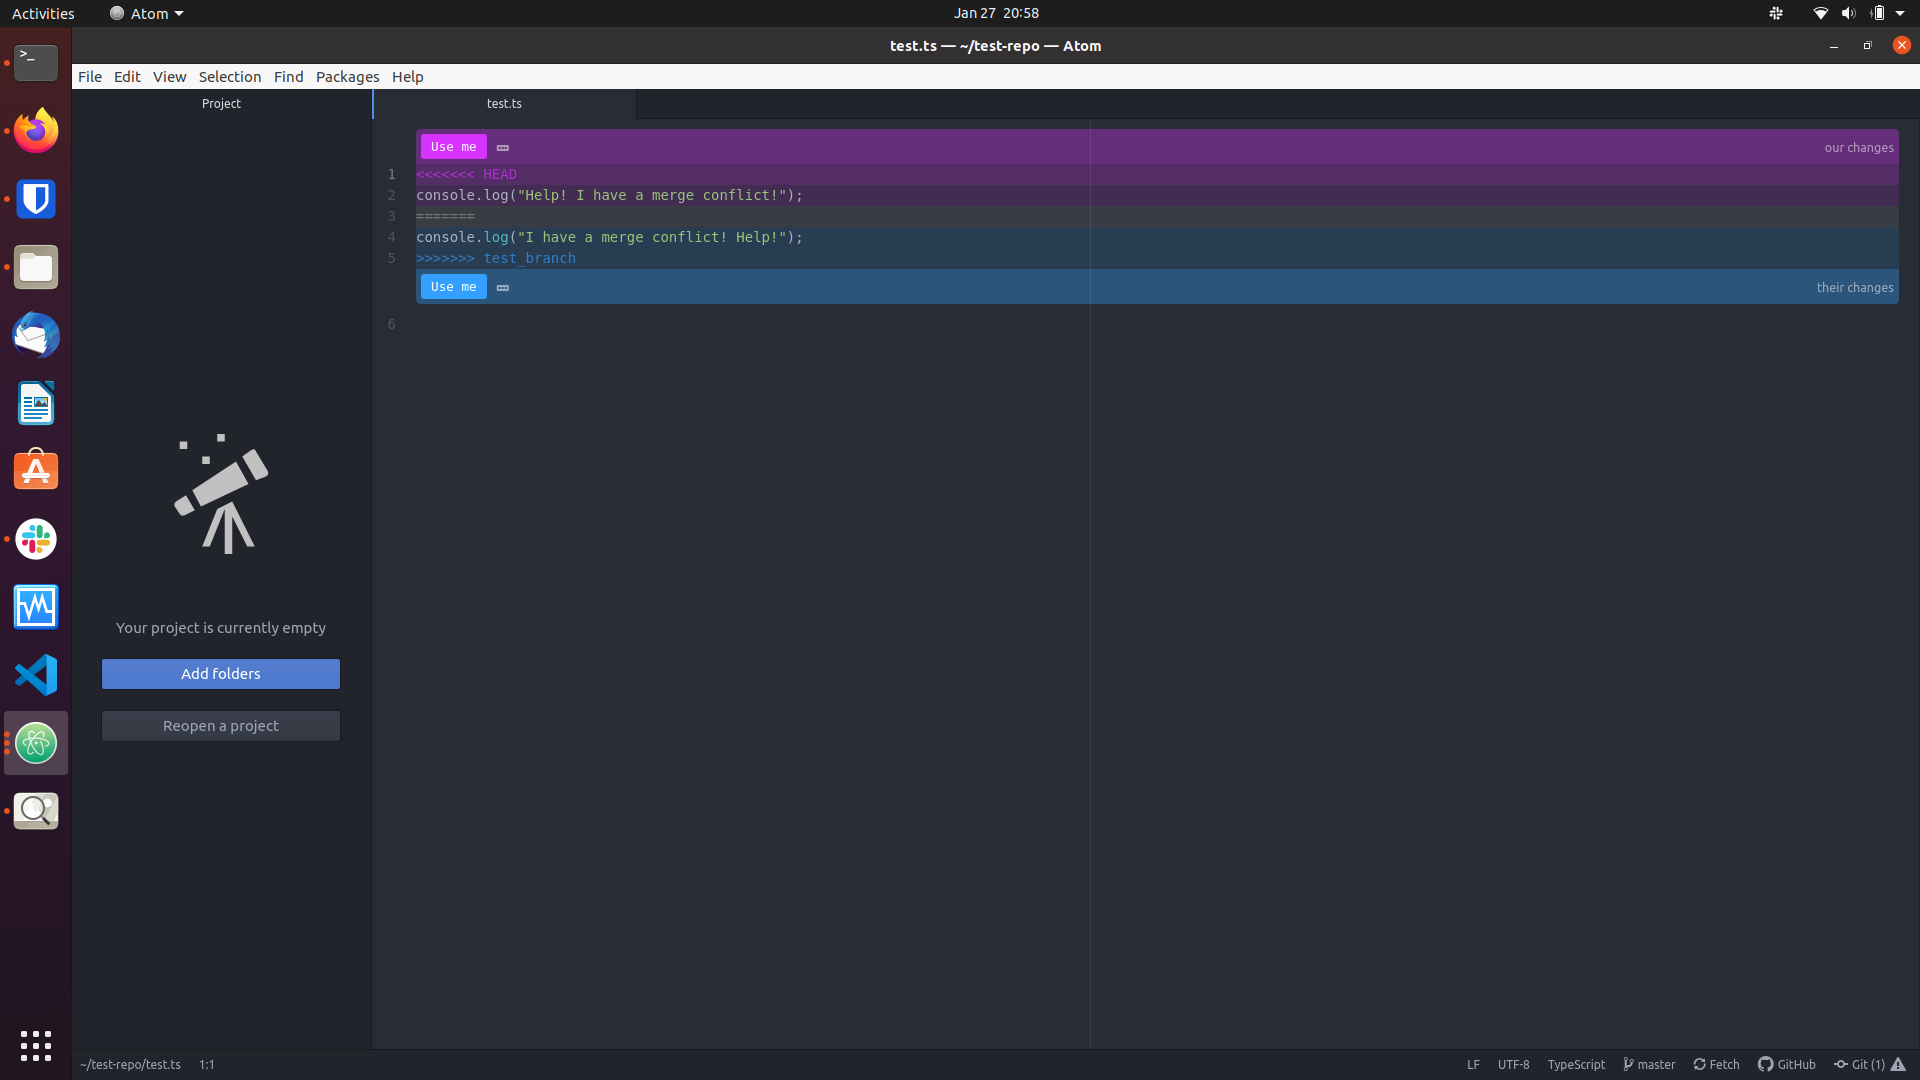
You can just click on the “Use me” button for whichever version you want to use, which simplifies the process greatly.
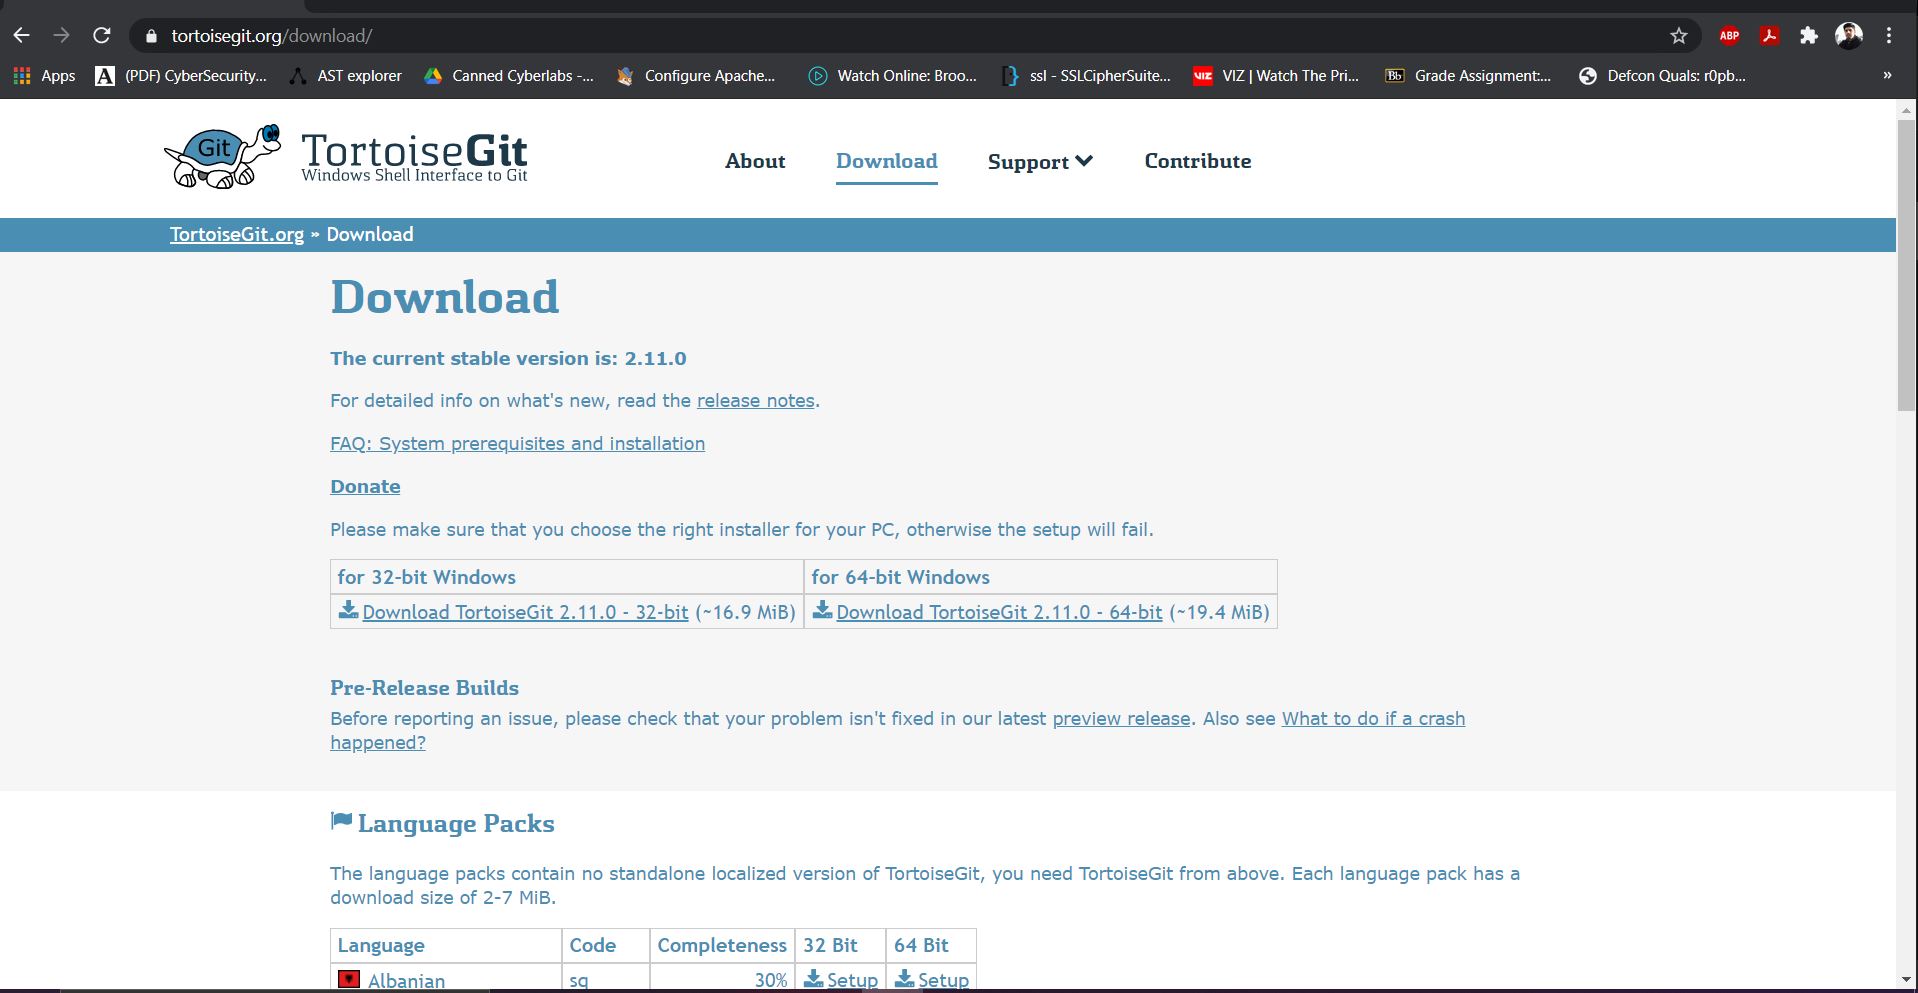
For windows, we recommend using TortoiseGit as the mergetool.
- Download the installer for TortoiseGit from the official website.
- Run the installer
- Select the installation directory and click next on all windows to complete the installation.
- When attempting to merge conflicts from the CLI, tortoisemerge should be the default option now.
More Advanced Commands and Fun Stuff
One of the best shortcuts is using flags for
git commit. In particular, if you wish to add all the changed files that are currently being tracked (i.e. already exist in the main branch), you can use the flag-awhen committing. This equates to typinggit commit -am "[Descriptive Message]"instead ofgit adding each file and then committing.Sometimes you just mess up your code badly and you want to revert to the previous commit that was working. To do this, use the
git stashcommand. First, typegit stash. This command reverts you back to your previous commit and actually saves your changes locally in a stash (i.e you can get them back). However, in our example, we just want to dump the bad code, so aftergit stashtypegit stash drop. Now your bad code breaking changes are gone. Poof!Sometimes you might have already pushed your bad code! In order to “undo” this pushed commit, use
git revert. Be warned though, this is entering into the trickier parts of git, and it could really really mess up your code if you aren’t careful. Find the hash of your git commit you want to undo on the web page commit history. Conveniently, there is a copy button for this hash for each commit. Alternatively, you can typegit logand it will show the commit history (be warned if this is long, you might want to add flags as to not have to continuously press enter to scroll through it). Then navigate to your terminal and typegit revert [copied hash]. This is a separate commit that undoes the other commit, push this commit, and your bad code disappears (and has a traceable history associated with the undo in the commit history). Again, this is a warning that you really could mess up your code by doing this, and we may not be able to help you fix it. To be on the safer side, only revert your last commit when you realize you pushed bad or broken code.Forkingis a form of branching in which you create a local copy of an existing repo (and use this copy as if it is your own), which can later be merged like a normal branch using a pull request. This type of process is usually used in large, open-source projects when developers add features, but you can use it too! For example, these tutorials are developed on a local fork that gets merged with the website master repo when we finish a new one!Github supports emojis! To use one, consult the list here: https://github.com/ikatyang/emoji-cheat-sheet/blob/master/README.md. Select your favorite and add the id of the emoji in question to your git commit message. A personal favorite of one of the authors is
":space_invader:". These are fun to add to any commit, but in particular agit commit -am "Done!! :space_invader:"for when you finish a programming assignment is always fun :)